Blair Blazer - Alternative Construction to the Burrito Method
We love seeing all your winter Blair’s on our social media. But we had to ask. Were you all managing to pull your gorgeous jackets and coats through with the burrito? The answer was yes! But, some with a wee bit of a struggle. It got us thinking…. We both really wanted to make ourselves a winter coat in something thick and chunky. We should think about some alternative instructions to do this.
In this blog, I will talk you through an alternative construction method for chunkier fabrics.
Sally from Modistasewing made hers in this lovely autumnal wool blend
Emily made hers in this lovely textured yellow
What’s a Burrito
The Burrito method is a lovely construction technique. Used in our Blair blazer all the shoulder and yoke seams are hidden inside the back double yoke. The body of the blazer is rolled up like a burrito (hence the name) and once seamed the blazer is pulled through the neck concealing the seams inside.
We’ve detailed a burrito method for construction in our instructions because we had initially envisaged Blair in light fabrics as a shirt dress or a medium weight blazer. But, winter crept in we both couldn’t wait to see it in something cosy.
Jen opted for this gorgeous signature floral in Italian wool
Susan’s Blair Appreciation
Blair is absolutely my most made Homer and Howell’s pattern. I have a few shirt weights, a set of pj’s (paired with Maud of course) a medium weight Tencel which has a lovely duster coat feel. Needless to say, I love the oversized feel and easy shape.
When it came to the colder months, I wanted to make something a bit heavier. I love that it’s sharp enough to carry off a coat or winter jacket silhouette but unlined so still quite a manageable project.
My first winter Blair was a gorgeous light to medium weight herringbone wool. I loved how easy and forgiving the wool was to sew. Nothing slipped or stretched and it went together so nicely. I went for the shorter view and JUST managed to squeeze the jacket through the neck with the burrito method. Just.
Navy herringbone wool. The wool was quite lightweight and just managed to pool through with the burrito method
Paired with our Cissy dress
Next up was a chunky cotton cord. I knew there was no way I was going to manage to squeeze everything through two layers of cord so decided to make the inner yoke in cotton shirting. I have to say it was a tighter squeeze than the wool but I managed to get there after a whole lot of pulling and tugging. So very glad that I made it. It’s is such a great throw on and will be perfect as we move into spring.
I cut the inner yoke in contrast cotton shirting so the yokes wouldn’t be too chunky.
Winter Warmers
I knew I wanted to make a coat version too. As a pattern cutter, I used to work for a coat supplier, where I made countless numbers of coat patterns but I hadn’t actually sewn more than a toile of a coat since I was a student. It was a first for me, and I was super excited to get started. I had a couple of fabrics in mind but knew there was no way I would manage to pull a heavy weight wool or jacquard through the neck with the burrito method.
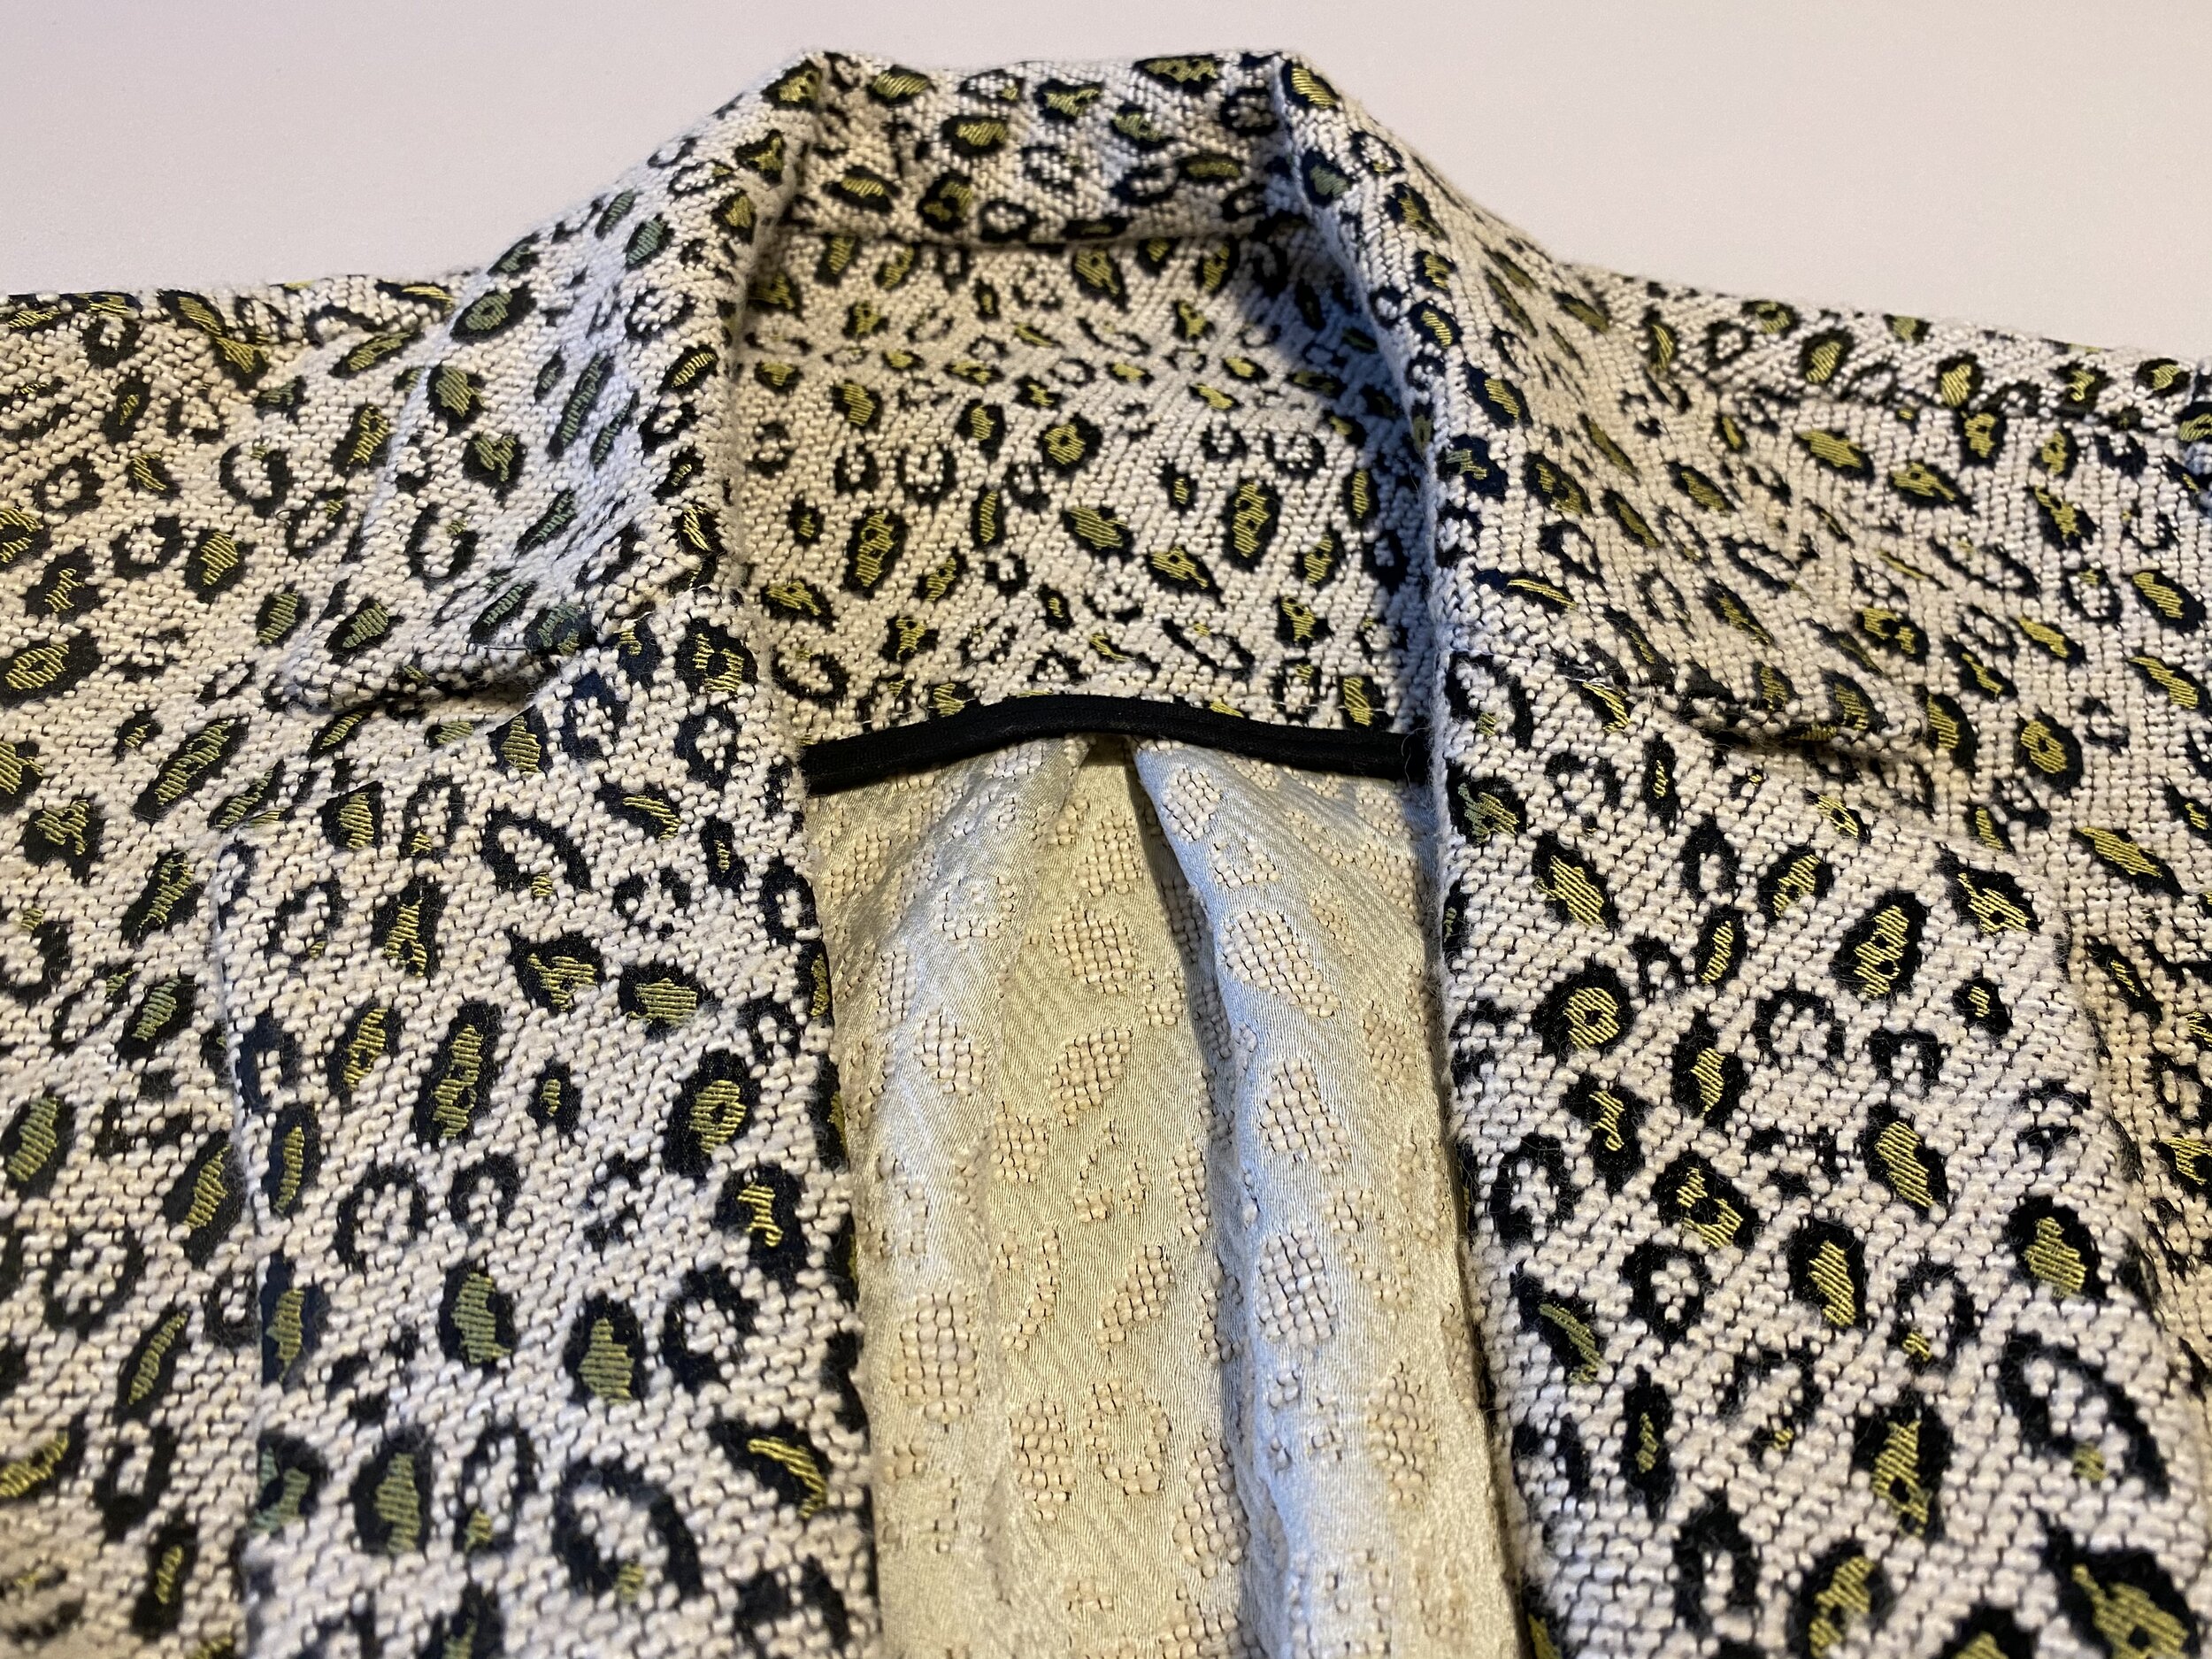
In the end, I decided to bind my inner yoke hem and sink stitch through the yoke seam, and I am so happy with the end result.
I added some oversized patch pockets to the side front panels. Have you downloaded our free pocket pack?
Bias binding on the inner yoke adds a lovely contrast finish
Tutorial: Yoke Construction for Chunky Fabrics
Follow our Blair instructions as detailed in our instruction booklet until you reach point 8. Instead of sandwiching the back panel with both yokes follow the below instructions.
Line up the back panel and the outer yoke
Right sides together place the outer yoke on top of the back panel
With a 1cm (5/8”) seam allowance sew the yoke and bodice seams together. Press seams up towards the yoke
Bind your inner yoke hem
Right sides together place the front bodices onto the back panel and line up the shoulders
Right side down place the inner yoke on top of the front panel.
Line up the shoulders and pin through all layers.
With a 1cm (5/8”) seam allowance sew the shoulder seams together attaching the back, front panel and inner yoke
Press the shoulder seams
The inner yoke will still be loose
Ensure your yokes are flat. Pin the inner yoke into place with a 1cm (5/8”) overhang over the outer yoke seam. Ensure all seam allowances from the back panel and outer yoke are concealed
Flip over to the right side and transfer the pins to the right side ready to “stitch in the ditch”
Stitch in the ditch through the outer yoke seam and press the yoke seam
Voila!
Once you have stitched in the ditch continue with the side seams, followed by the collar construction through to the end as advised in the original instructions booklet.
As always if you have any questions as you sew please get in touch.
Susan x


