Ingrid - Bust Tuck Adjustments
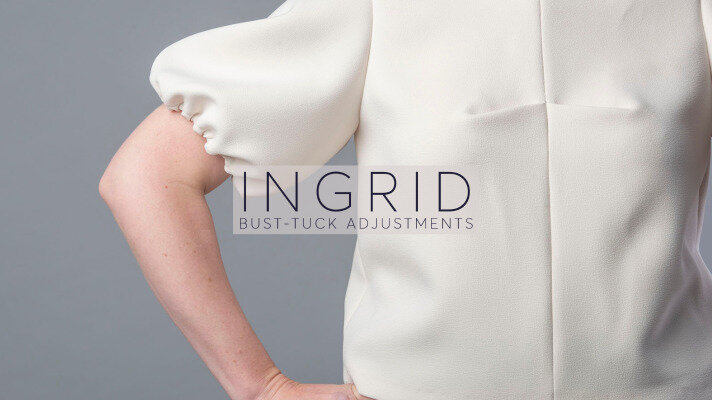
We had so much fun designing our Ingrid dress pattern. We know how important a bust dart can be for lots of you for fit but we wanted to steer away from the classic bust dart.
Instead, we opted for a bust tuck. The suppression and fit from a dart are still there but there is a lot more ease and a lovely origami finish.
We understand this can be a bit intimidating if you have to move it around or do a bust adjustment, but it really isn’t much different to making a regular bust adjustment.
While drafting Ingrid we knew we had to make the drafting as clear as possible on the pattern which is why we have added a drill to show where the bust point is for ease when adjusting.
Below we will explain how to do some standard bust adjustments to your Ingrid bodice
Moving the bust tuck up or down
Our bust tuck is designed to sit slightly above the bust apex for the most flattering effect. We would recommend making up a quick bodice toile to check where the bust tuck finishes on you and amend accordingly.
Moving Bust Tuck Up
If you feel like the bust point is looking a little low on your toile follow the steps described below to raise the tuck.
Using a pencil draw a line from the bust point drill hole to the tuck notches
Look at your toile and decide how much you need to move the bust tuck up by. Redraw the tuck lines moving them up parallel to the original lines
Stick a piece of scrap paper on the centre front. This will need to be on the full length of the front panel
Carefully fold your tuck closed. Fold along the lower line up towards the top line, tape down to secure Ensure the excess in the back of the tuck is folded towards the hem (as you would when you are sewing
Draw a new line from the neck edge straight down to the hem
Following your new drawn line cut your centre front seam (ensuring that the tuck is still closed
Carefully remove the tape, mark your notches and repeat on the right bust panel
Moving Bust Tuck Down
Even though the bust tuck is designed to sit slightly above your bust point you may find that it is a little high for you. Follow the steps below to move our bust tuck down.
Using a pencil draw a line from the bust point drill hole to the tuck notches
Look at your toile and decide how much you need to move the bust tuck down by. Redraw the tuck lines moving them down parallel to the original lines
Stick a piece of scrap paper on the centre front. This will need to be on the full length of the front panel
Carefully fold your tuck closed. Fold along the lower line up towards the top line, tape down to secure Ensure the excess in the back of the tuck is folded towards the hem (as you would when you are sewing
Draw a new line from the neck edge straight down to the hem
Following your new drawn line cut your centre front seam (ensuring that the tuck is still closed
Carefully remove the tape, mark your notches and repeat on the right bust panel
Full Bust Adjustment
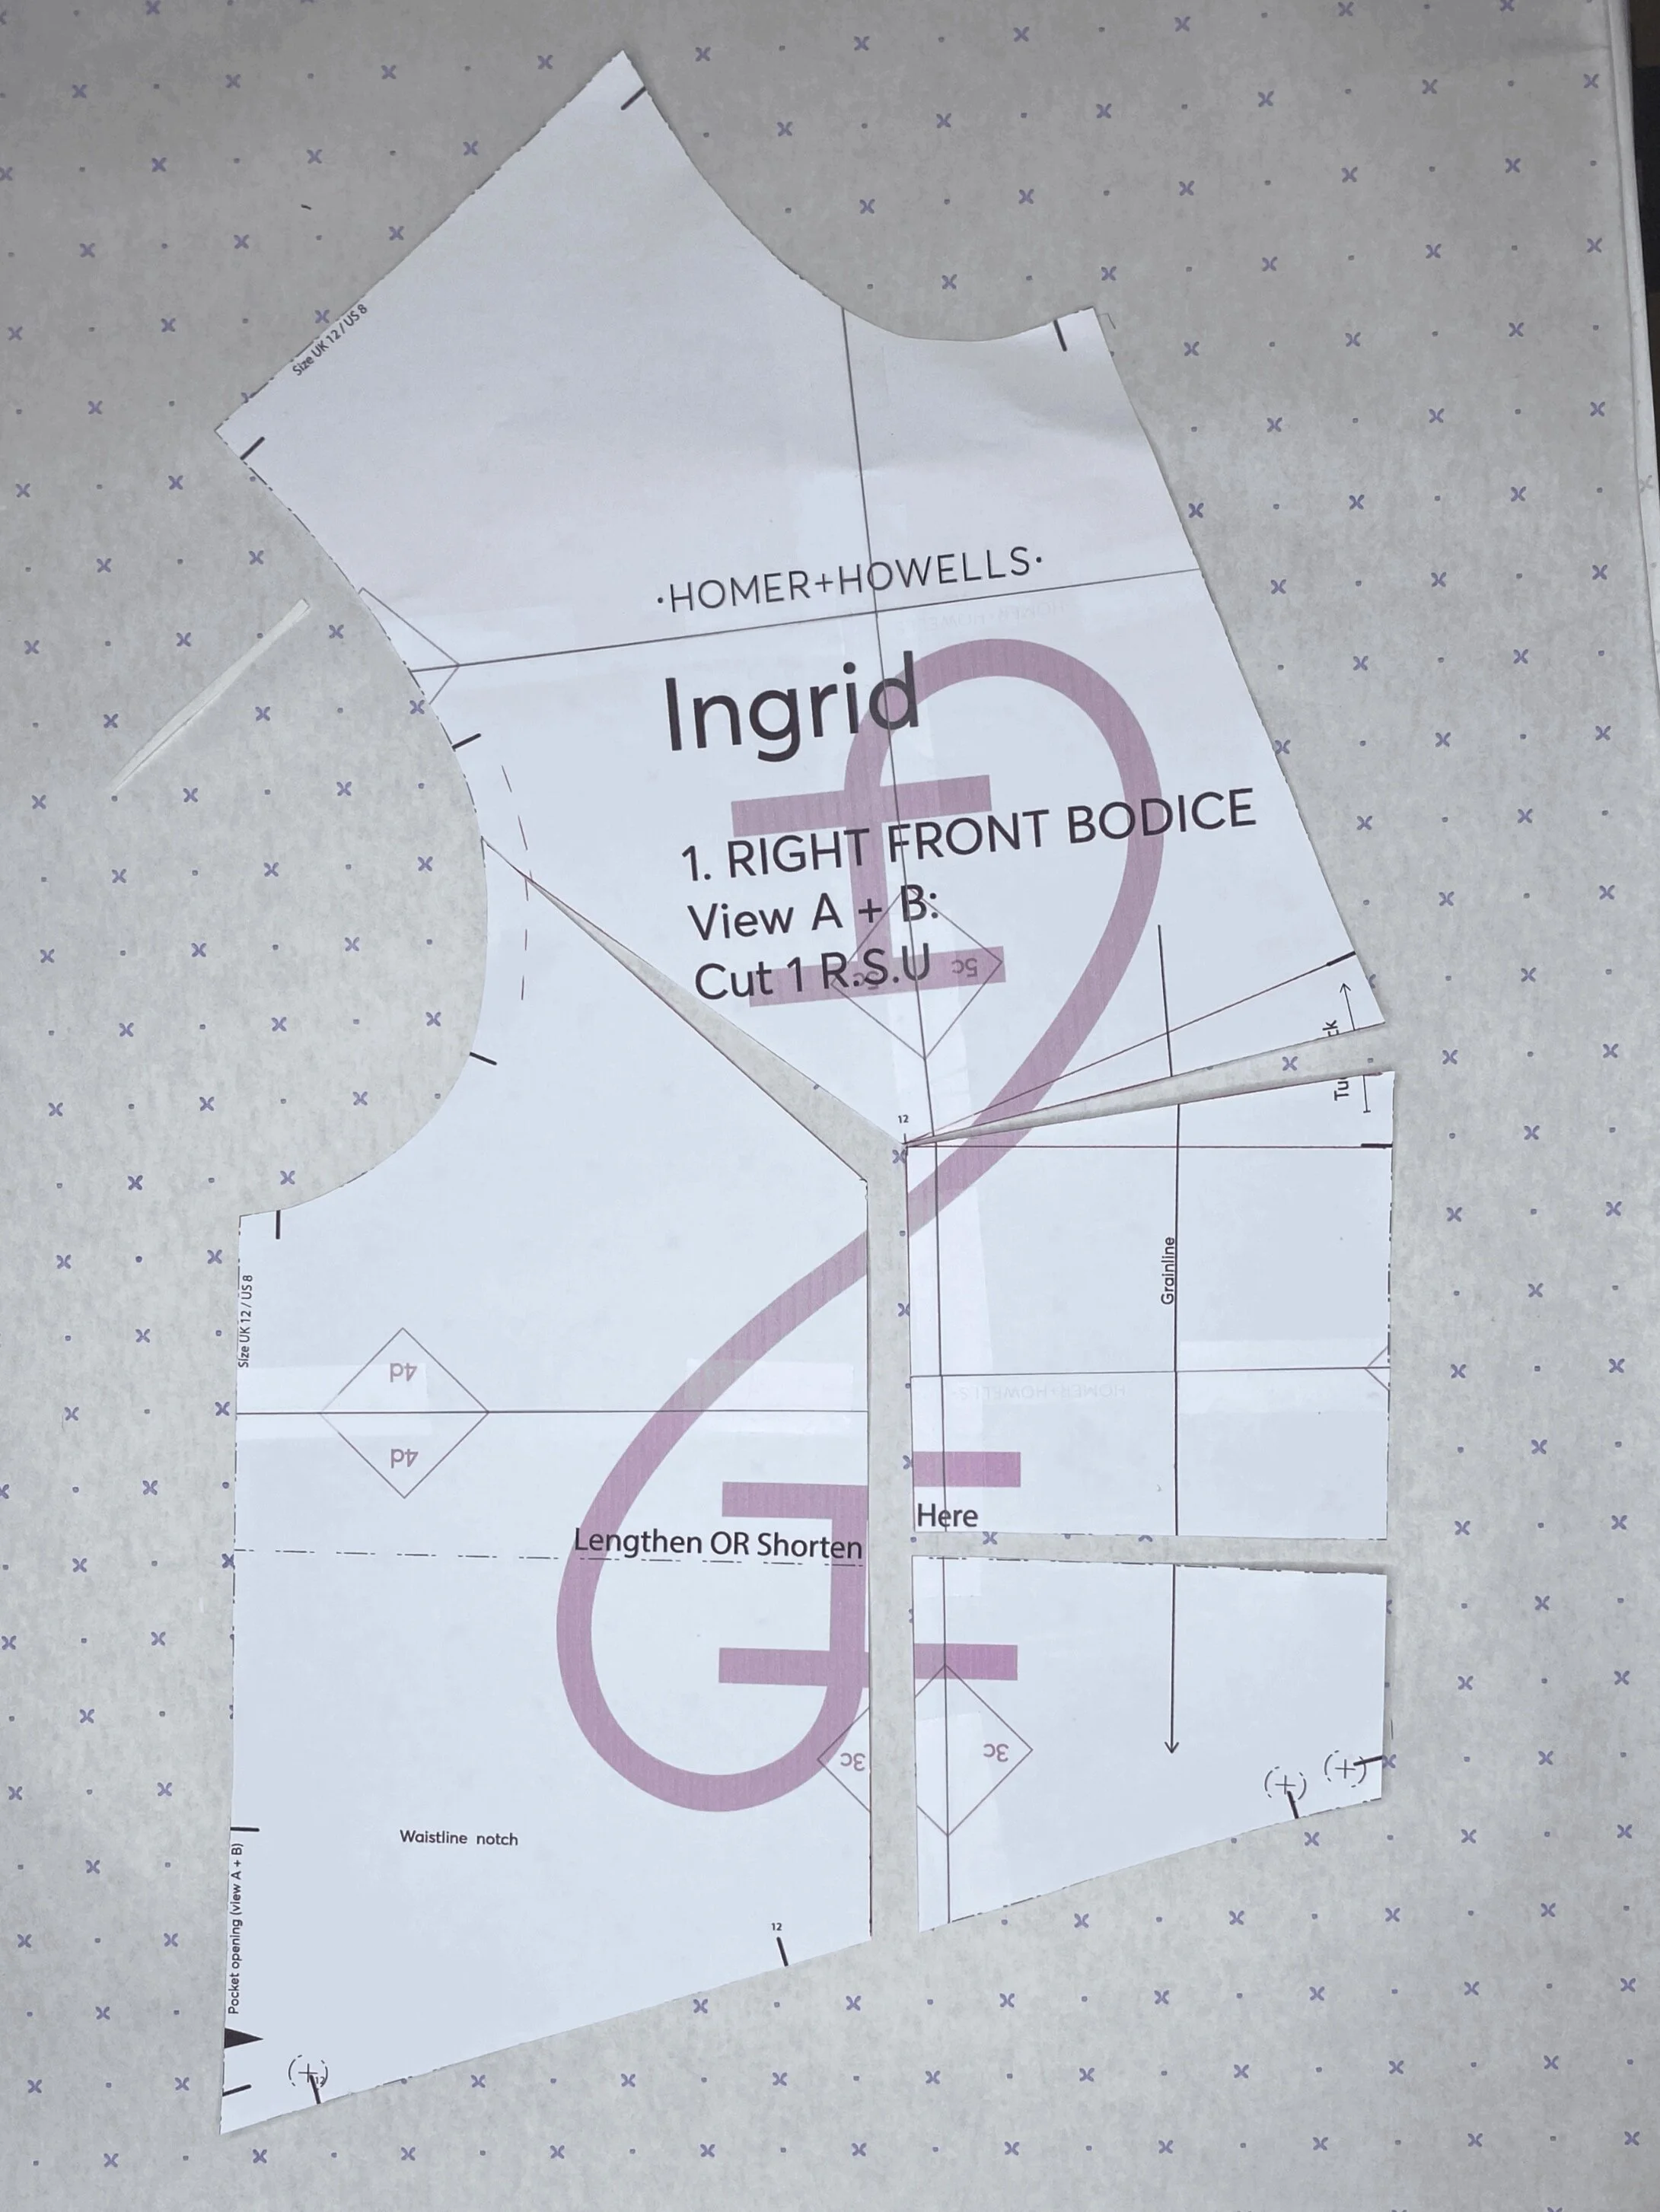
We have added a drill marker on the pattern on the bust point so you can easily do a bust adjustment should you need to. You can either check your measurements against the pattern or cut open your muslin or toile at the bust and measure how much you need to increase the bust by. I have opened the front by 1cm here and taken this straight down to the hem.
To prepare your pattern for your bust adjustment draw in the following lines as marked in red
* Bust point to tuck notches.
* A line from the bust point down the middle of the bust tuck
* A line parallel to the centre front: from the bust point down to the hem
* A line from the bust point into the armhole
* Please also draw in the seam allowance on your armhole. this will help when amending your pattern later.
Cut up your pattern pieces ready to amend your pattern. You are cutting the central line in the bust tuck, the line going into the armhole, the line going down to the hem. you will also cut along the central lengthen shorten line.
Increase your bust as shown in the diagram
Be careful the armhole seam (you drew in earlier) is not overlapped or opened up. This will ensure your sleeve still fits in perfectly later.
To ensure your tuck isn’t too large split the extra length. Half into the tuck and half into the lengthen shorten line. Ensure the bottom hem line still runs in a straight line and there are no steps at the hem.
Once you’re happy with the amendment tape into place
*Note, there is plenty of gathering in the skirt so there will be no need to increase your skirt panels
Carefully fold your tuck closed. Fold along the lower line up towards the top line, tape down to secure Ensure the excess in the back of the tuck is folded towards the hem (as you would when you are sewing and cut out your pattern piece
Carefully remove the tape from the tuck, mark your notches and repeat on the left bust panel
Small Bust Adjustment
Our testers who would normally do a small bust adjustment left the tuck as pattern but if you do feel you’d like to do a small bust adjustment it’s very straight forward. Be careful not to remove too much out of your tuck and loose the lovely intended feature of the pattern.
We have added a drill marker on the pattern on the bust point so you can easily do a bust adjustment should you need to. You can either check your measurements against the pattern or cut your muslin or toile at the bust and overlap how much you need to reduce the bust by. I have closed the front by 7mm here and taken this straight down to the hem.
To prepare your pattern for your bust adjustment draw in the following lines as marked in red
Bust point to tuck notches.
A line from the bust point down the middle of the bust tuck
A line parallel to the centre front: from the bust point down to the hem
A line from the bust point into the armhole
Please also draw in the seam allowance on your armhole. this will help when amending your pattern later.
Cut up your pattern pieces ready to amend your pattern. You are cutting the central line in the bust tuck, the line going into the armhole, the line going down to the hem. You will also cut along the central lengthen shorten line.
Reduce your bust as shown on the diagram. I have highlighted in blue where I have overlapped the pattern.
Take care not the overlap or open up the armhole seam (you drew in earlier). This will ensure your sleeve still fits in perfectly later.
To ensure your tuck isn’t too small split the reduced length. Half from the tuck and half from the lengthen shorten line. Ensure the bottom hem line still runs in a straight line and there are no steps at the hem.
Once you’re happy with the amendment tape into place
*Note, there is no need to amend the gathered skirt
Carefully fold your tuck closed. Fold along the lower line up towards the top line, tape down to secure Ensure the excess in the back of the tuck is folded towards the hem (as you would when you are sewing and cut out your pattern piece
Carefully remove the tape from the tuck, mark your notches and repeat on the left bust panel
We hope this has been helpful and makes your bust adjustments an easy alteration. We always recommend making a toile or a muslin before you cut into your real cloth. As always, if you need any advise as you sew, please get in touch.
Susan x


