Ingrid Sew Along - Final Day
It’s the final day of Ingrids sew-along, lets get started:
Insert Sleeves
If you are sewing view B, follow the instruction booklet to ease in the sleeve
For view A and C there is no ease so we can move on to sewing the underarm seam straight away.
Right sides together, pin the underarm
1cm (3/8”) from the edge, stitch from the underarm to the hem, then press seam open
Pin underarm
Stitch seam and press open
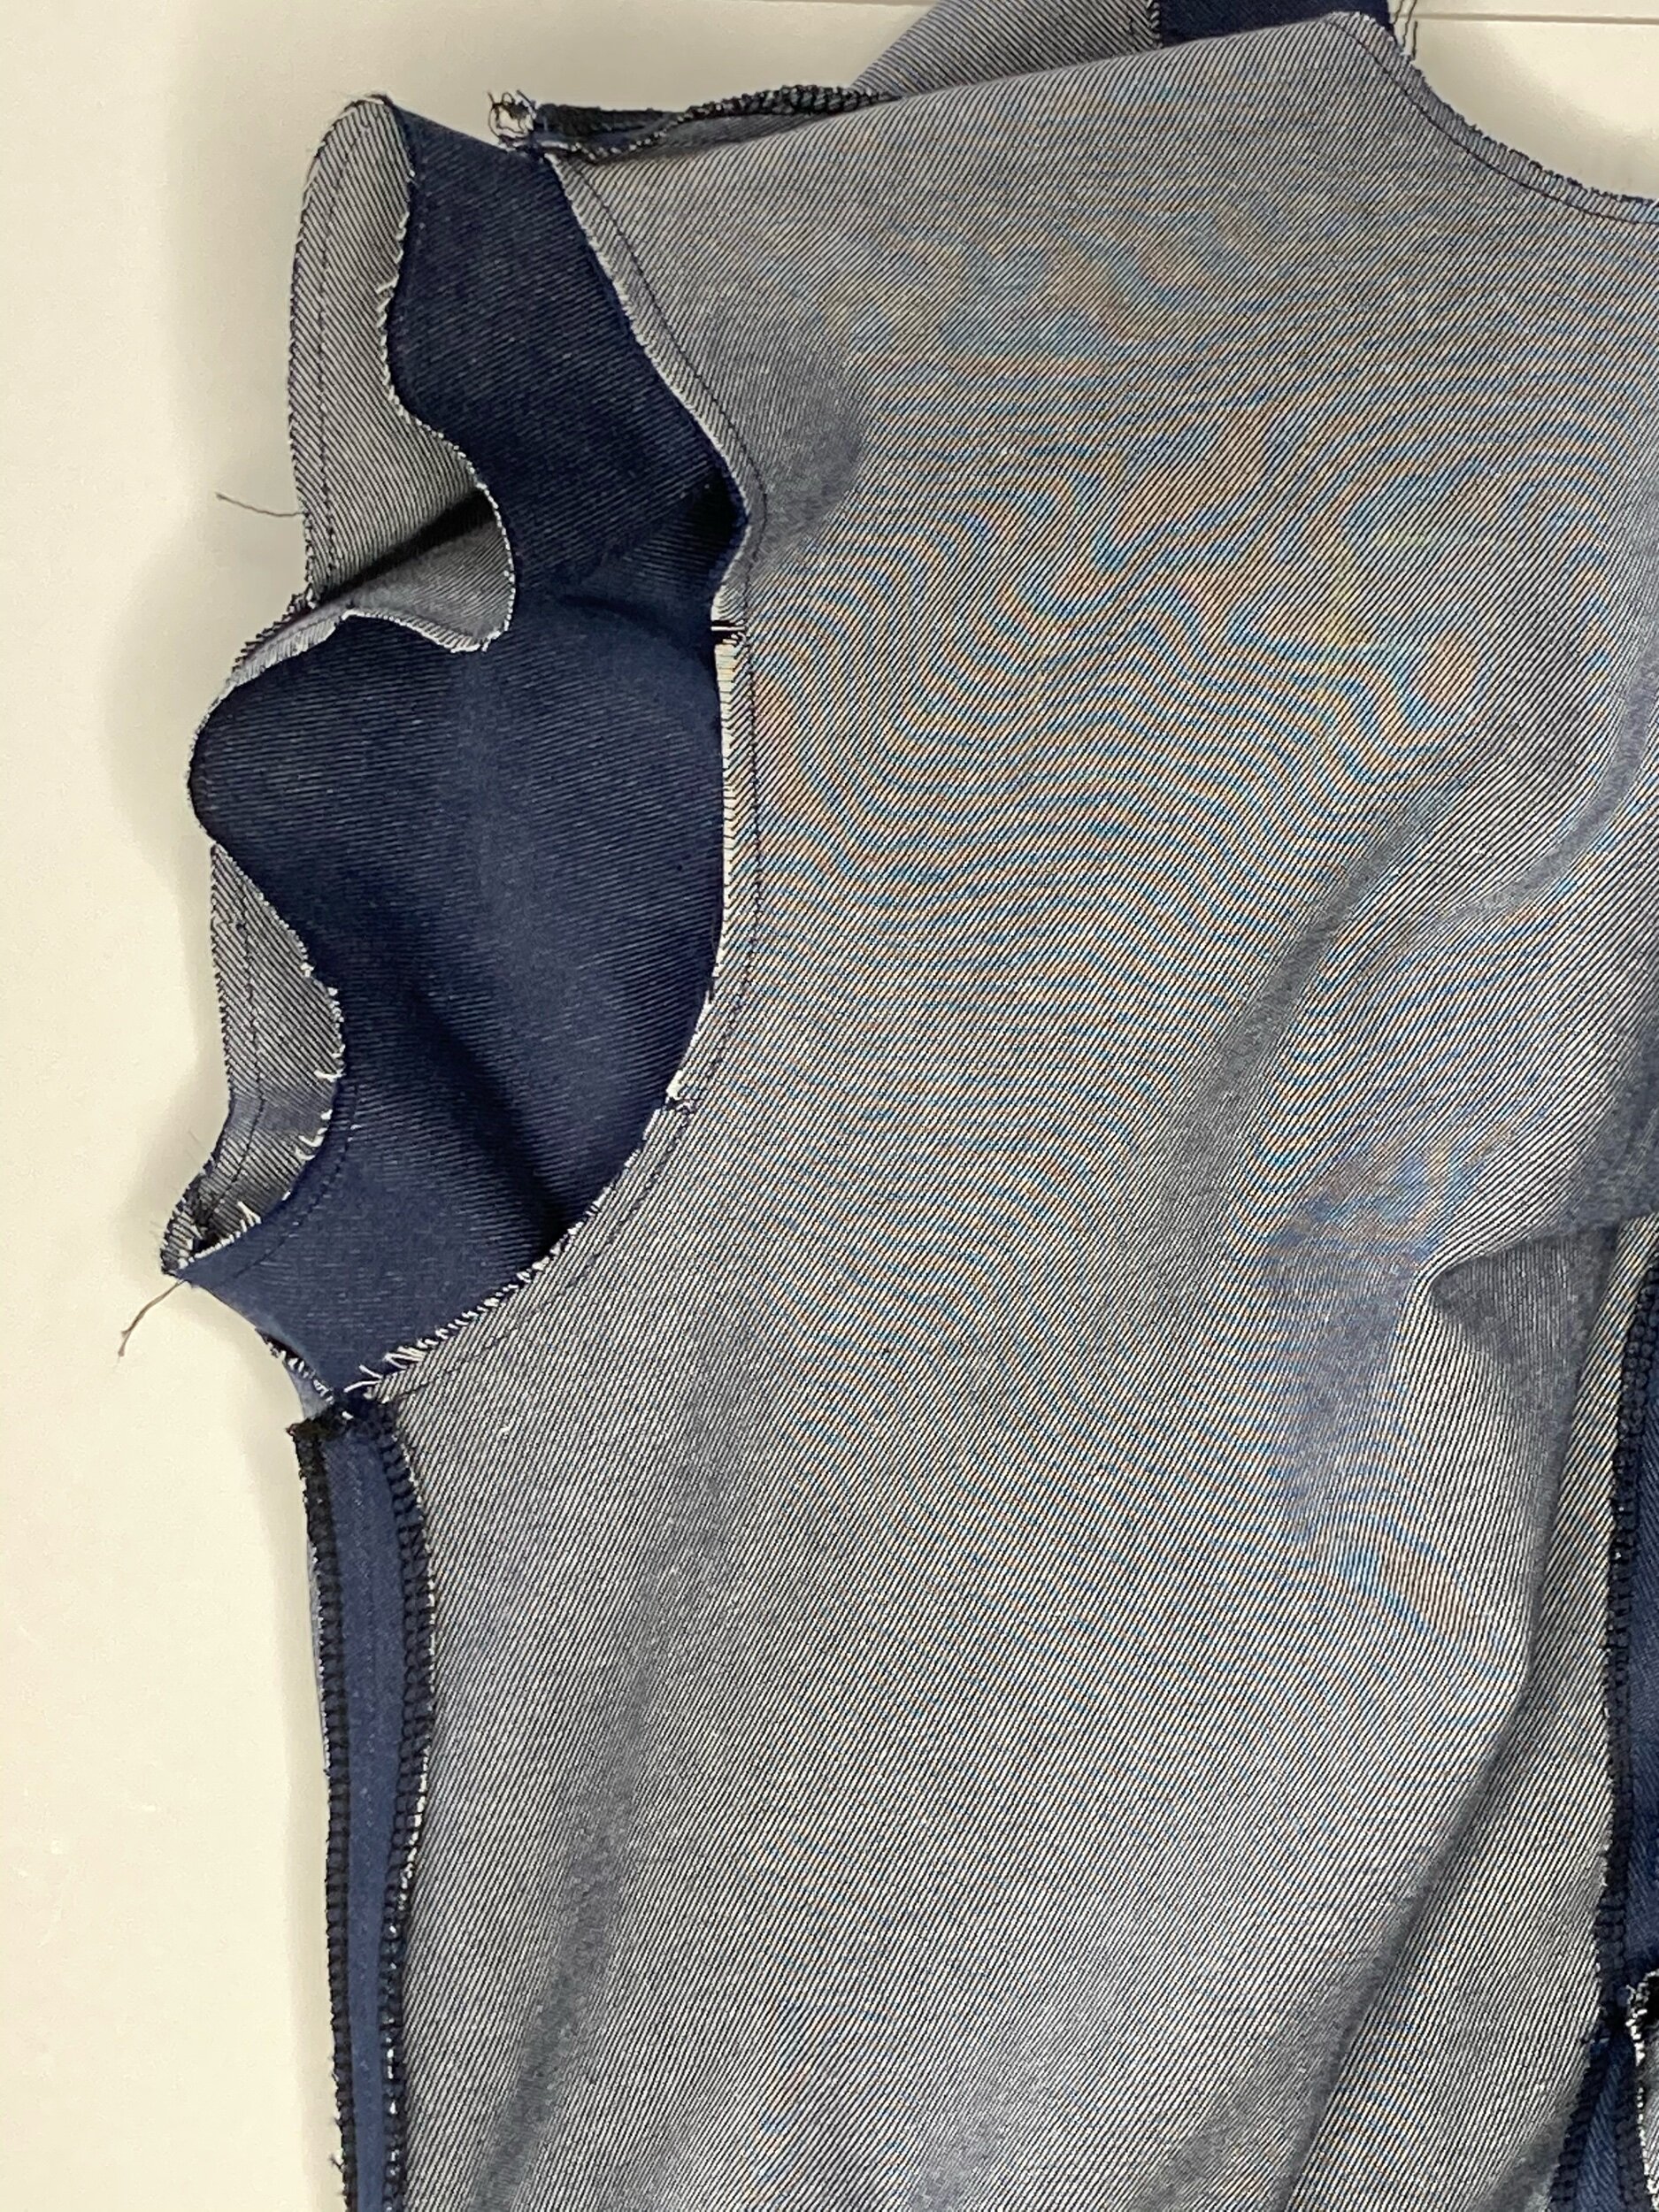
Next, insert your sleeve into the bodice, right sides together
Align the bodice side seam to the sleeve underarm and pin. Then match and pin at each notch. Now, work around the armhole pinning to close the gaps between notches
Insert the sleeve into the bodice
Pin sleeve in place around the armhole
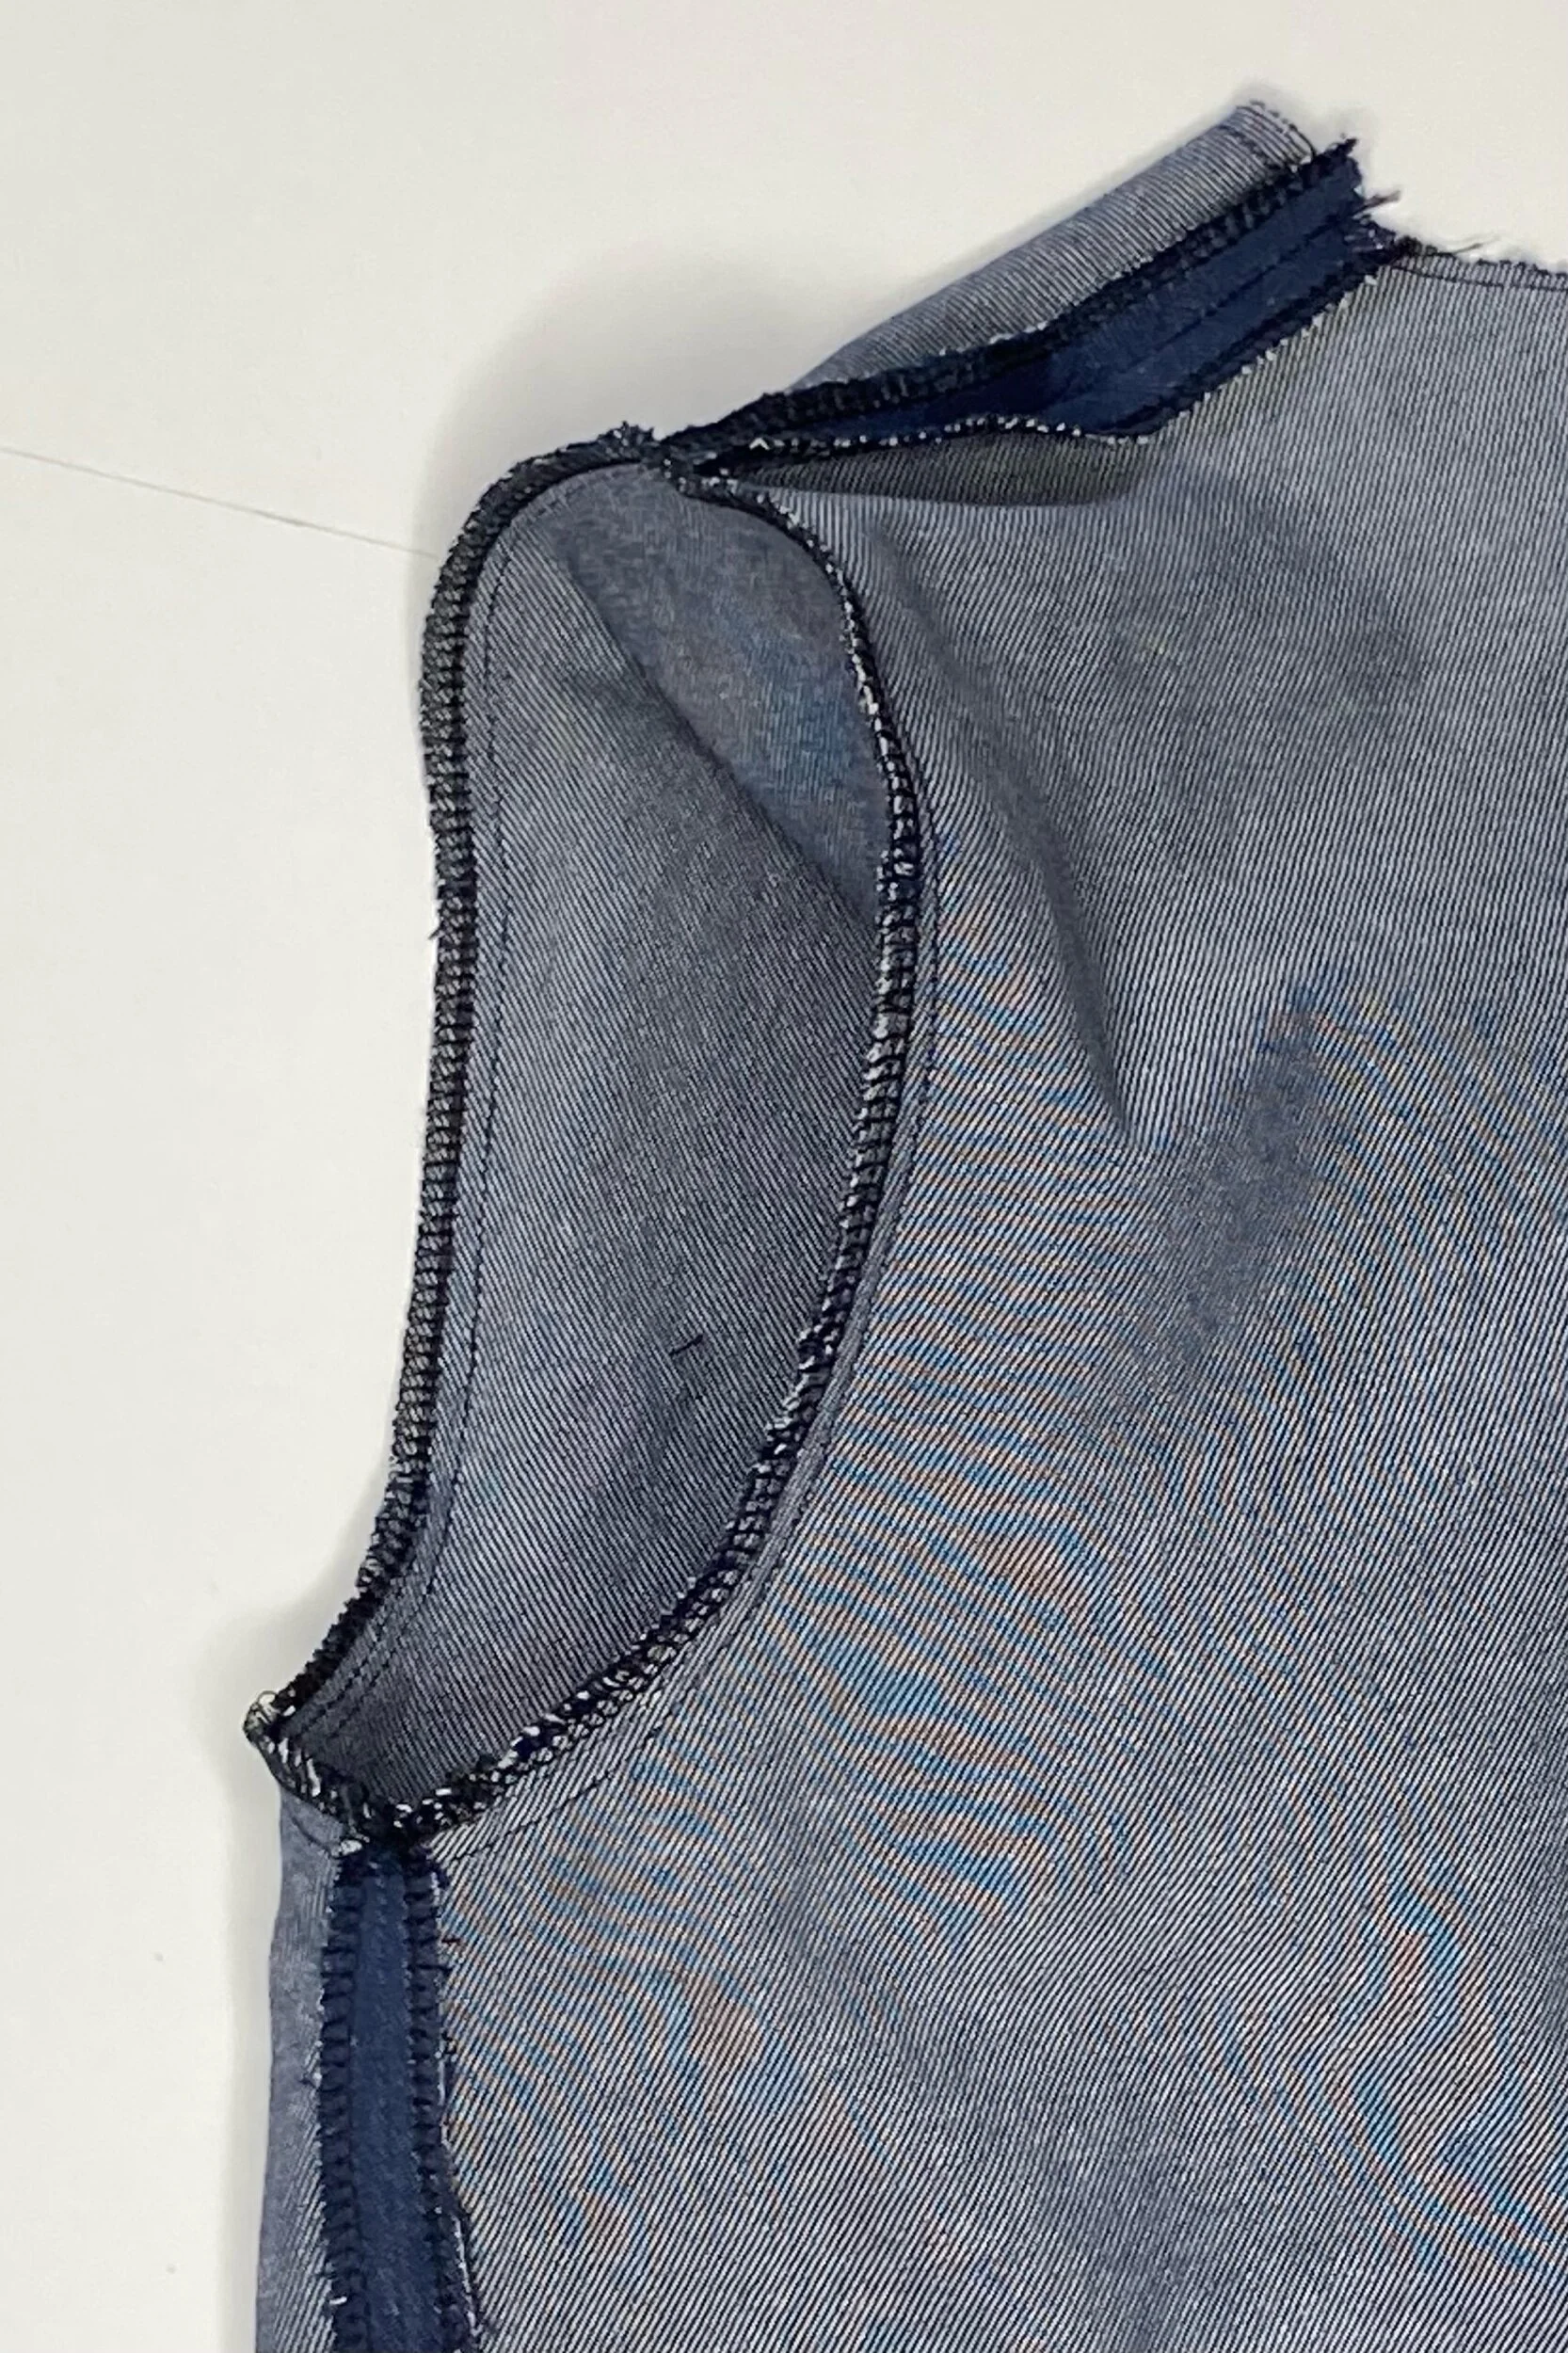
1cm (3/8”) from the edge, starting at the underarm, stitch around the armhole
Zigzag or overlook the seam together
Stitch around armhole
Overlock the edges together
Press seam allowance into the sleeve head (using your tailor’s ham to help here)
Repeat for the second sleeve
Join Facing Panels
Right sides together place the back facings on top of each other and pin
With a 1cm (3/8”) seam allowance sew the base of the facings together, starting at the drill hole, down to the hem
Right sides together pin the shoulder seams of the front and back facings
With a 1cm (3/8”) seam allowance sew the shoulder seams together
Stitch base of facing from notch down
Attach shoulders of facings
Press seams open
Attach Facings to Neck Edge
Right sides together, place the facing on top of the neck edge.
With a 6mm (1/4”) seam allowance, starting at the centre back opening, sew around the neck edge
Snip into the seam allowance around the neck curve, being careful not to snip too close to the seam
Fold the seam allowances under the facing side of the seam. Starting approx. 2.5cm (1”) from the centre back understitch the neck facing
Snip into the curves of the neck edge
Understitch seam allowance to the facing
Press
Attach Button Loop and Sew Keyhole Facing
I am using a stretch elastic loop for this make. If you would like to sew your rouleaux loop, you can use the pattern piece provided and follow the instructions in our booklet.
Fold your button loop in half lengthways
Pin the loop to the back bodice, at the top of the keyhole opening (fold the facing back to keep it out the of way)
Position the loop flush with the facing seam at the top edge
Stitch to secure the loop, within the seam allowance
Pin loop to the bodice just below the seam
Stitch to secure the loop (within the seam allowance )
Check the loop size with your button before moving on
Lay the keyhole facing back down, right sides together, sandwiching the loop between the two layers. Pin in place
With a 1cm (3/8”) seam allowance sew the keyhole starting at the neck edge down to the drill hole
Pin vertical edges together for sewing
Sew from neck down to the drill marker
Repeat for the opposite side of the keyhole
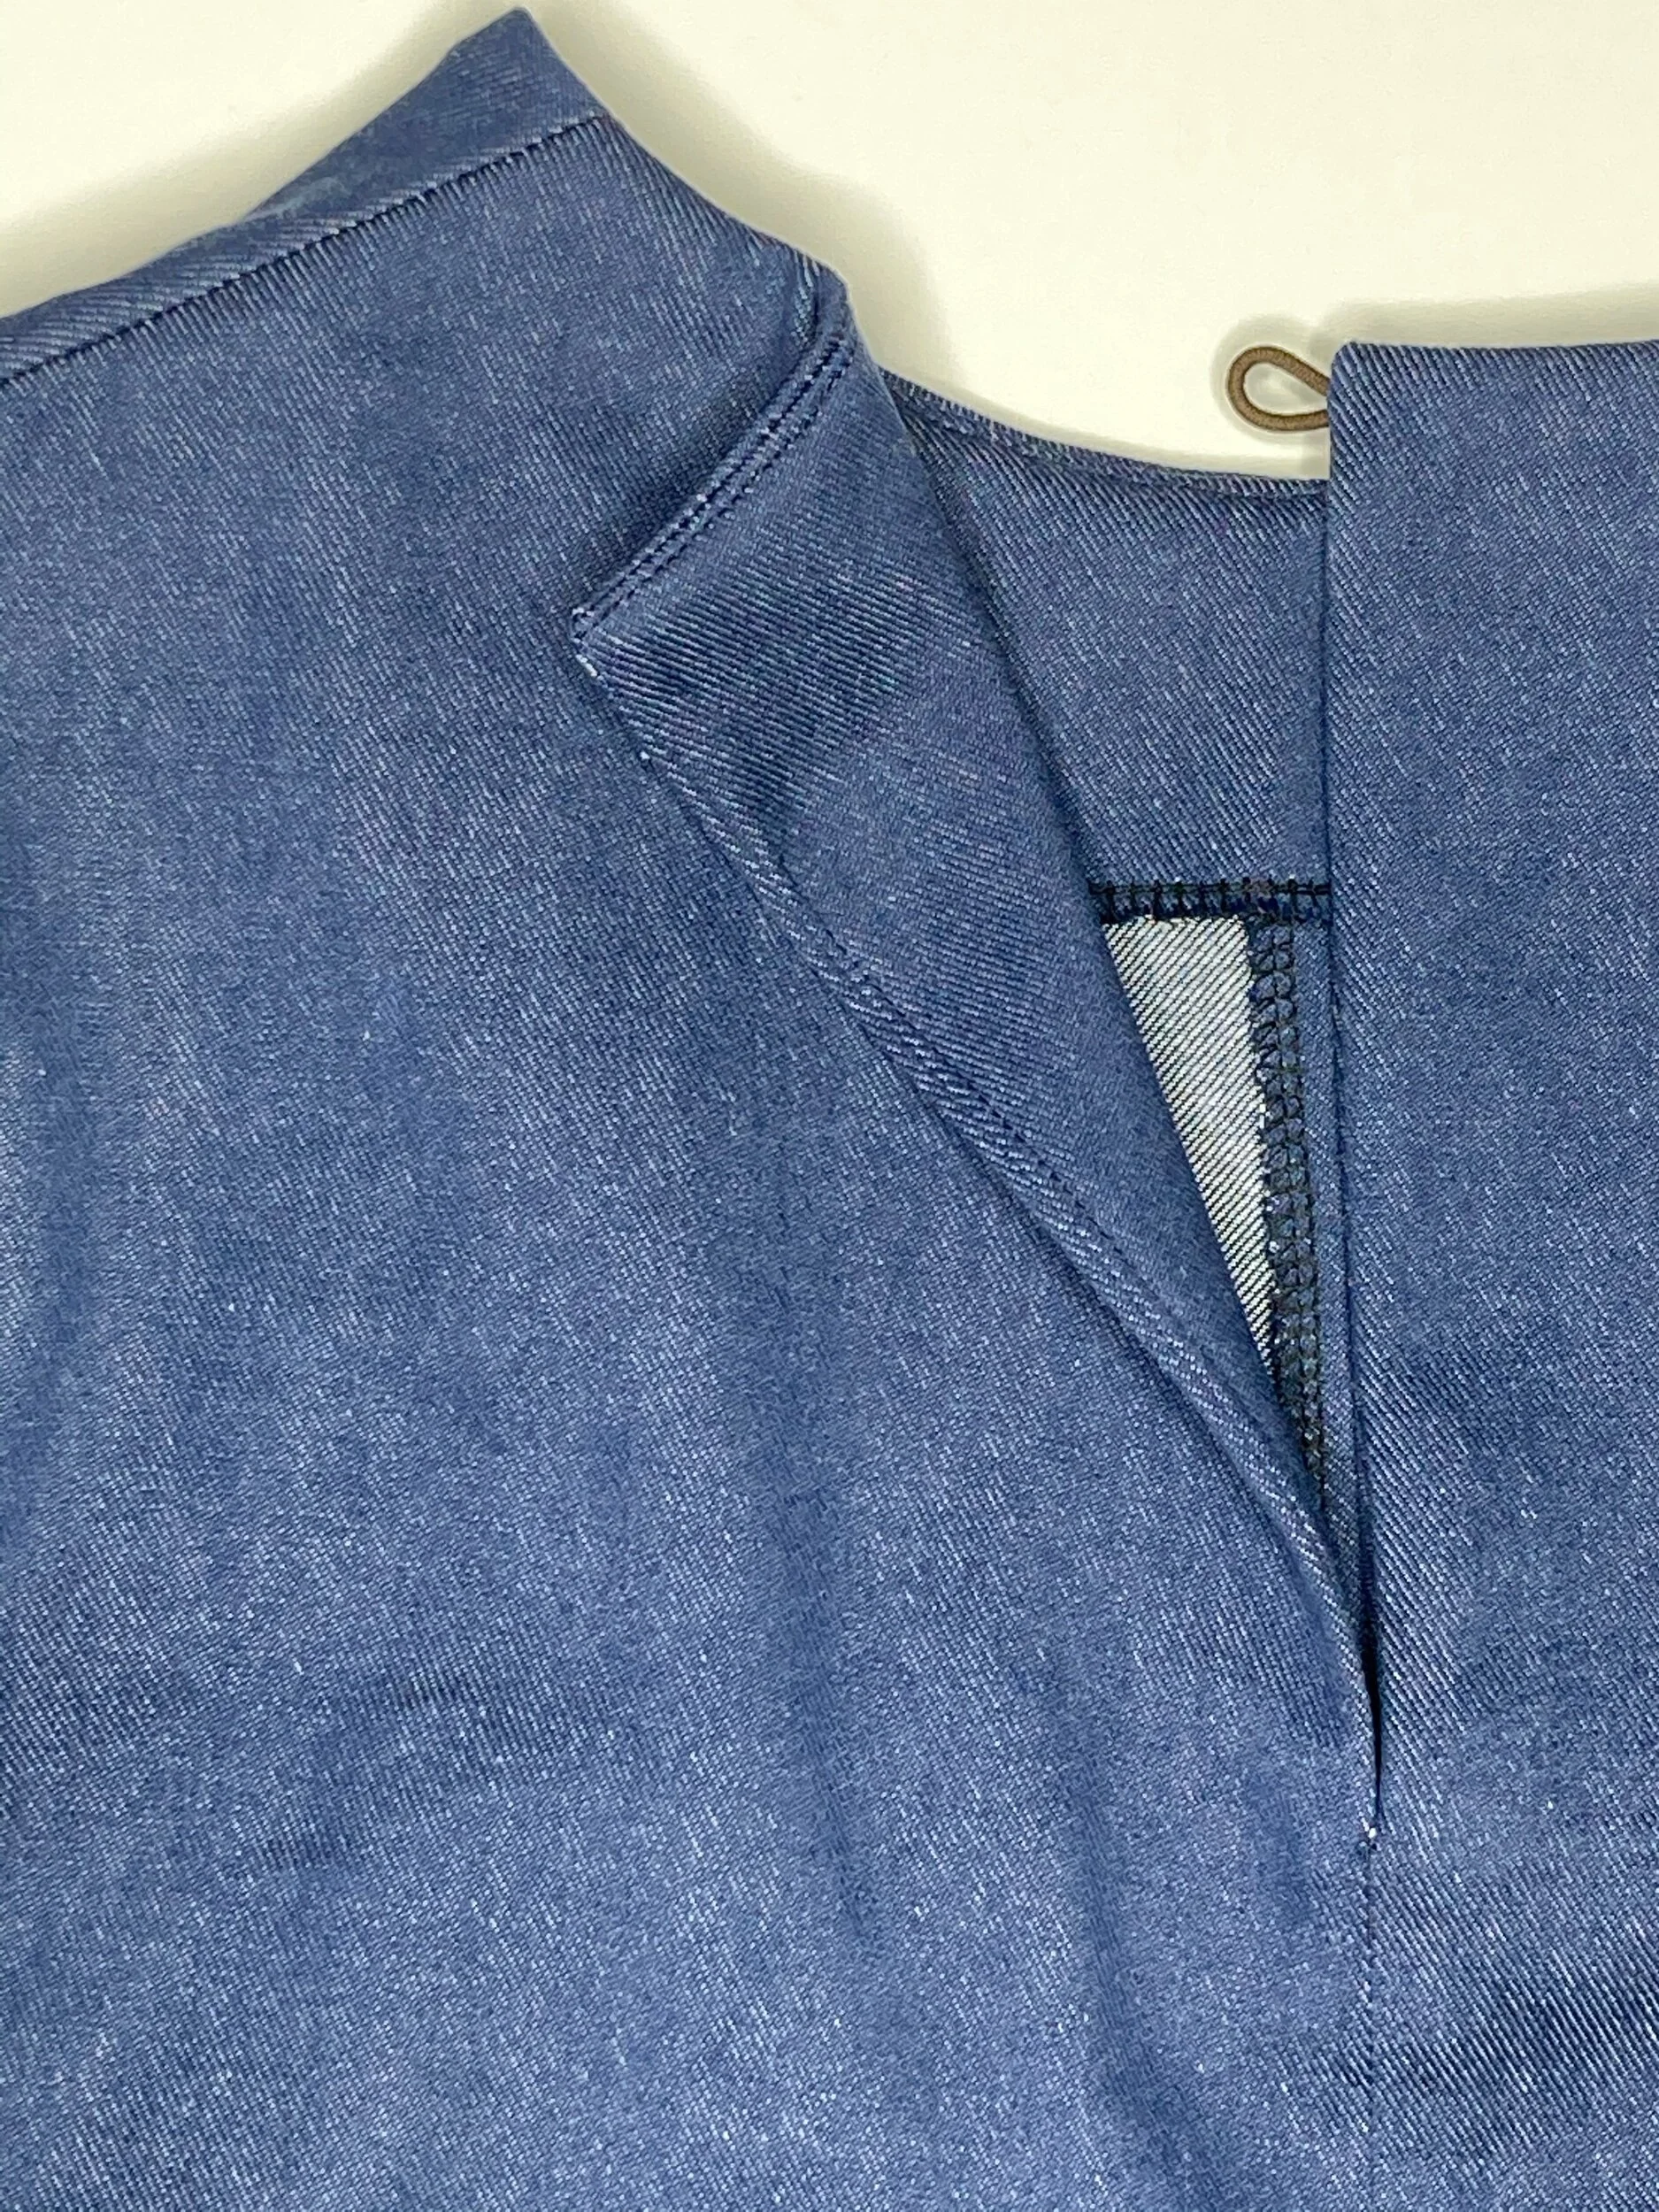
Snip the seam allowance at the centre back top corners and base of the keyhole
Starting as close as you can to the top, understitch keyhole
Snip corners before turning through
Understitched and pressed neck opening
Press neck edges and keyhole opening, making sure the seams are concealed on the inside
Secure the facing to the bodice by ‘stitching in the ditch’, at the shoulder seams and base of facing
Pin the facing to the bodice
Stitch through the seam line to secure (’stitch in the ditch’)
If needed you can secure the facing at the centre front seam too
Securely stitch your button to the top of the back keyhole opening
Hem Sleeves
Turn hem up 1cm (3/8”) and press all the way around
Turn up a further 1cm (3/8”) and press all the way around enclosing the raw edge
Pin hem into position, then edge stitch at the hem fold line
Press sleeve hem up
Double turn and pin
Leave a gap at the underarm seam (to insert the cuff elastic)
Cut your elastic to the lengths given in Ingrids measurement charts
Attach a safety pin to one end of your elastic. Thread the elastic through the hole you left in the waistband using the safety pin to guide it through
Check the elastic is lying flat and not twisted in the channel
Once pulled through, pin the two ends together with a 4cm ( 1 5/8”) overlap and try on to check the elastic length
Feed your elastic through the channel using a safety pin
Overlap elastic and pin together
Stitch the elastic ends closed with a zigzag stitch, or a double row of straight stitch to secure
Stitch the elastic together
Close channel
Close the hole in your hem, being careful not to catch the elastic in the seam
Hem Skirt/Top
Turn hem up 1cm (3/8”) and press, turn hem a further 1cm (3/8”). Press and pin into place
Double turn and stitch
Edgestitch at the hem fold line to close and press
Final Press and Check
Take some time to give your Ingrid a good press, trimming any loose threads you find
Thank you so much for sewing along with us. Let us know how you got on and share your makes with #hhIngrid on Instagram x
Thanks to Bawn textiles for the gorgeous Organic Cotton Denim used in this sew along x


